
Growing cherry tomatoes at home
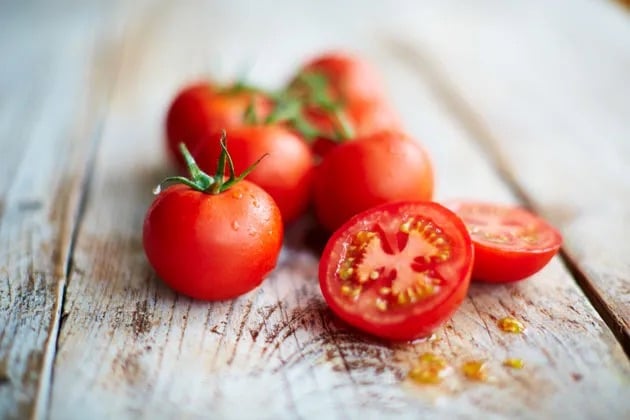
Cherry tomatoes are very popular among gourmet food lovers. In summer, they can be grown in a greenhouse or open field, so the price for them is not high, but in winter the cost of a kilogram of fruit can be tangible. Even in the cold season, you can grow cherry tomatoes at home, on a windowsill or an insulated balcony.
Growing conditions for cherry tomatoes at home

- Feed tomatoes at home every two weeks with a solution of chicken manure at a dose of 200-250 g per bush.
- Water as the soil dries out, without waterlogging the soil.
- Best of all, cherry will grow on the southeast or southwest window.
- It is desirable to illuminate for 1 hour in the morning and in the evening.
- Every day, turn the plant to the light on the other side – so it will develop evenly.
- Try to ventilate the room more often, cherry trees love fresh air, but do not allow drafts to form.
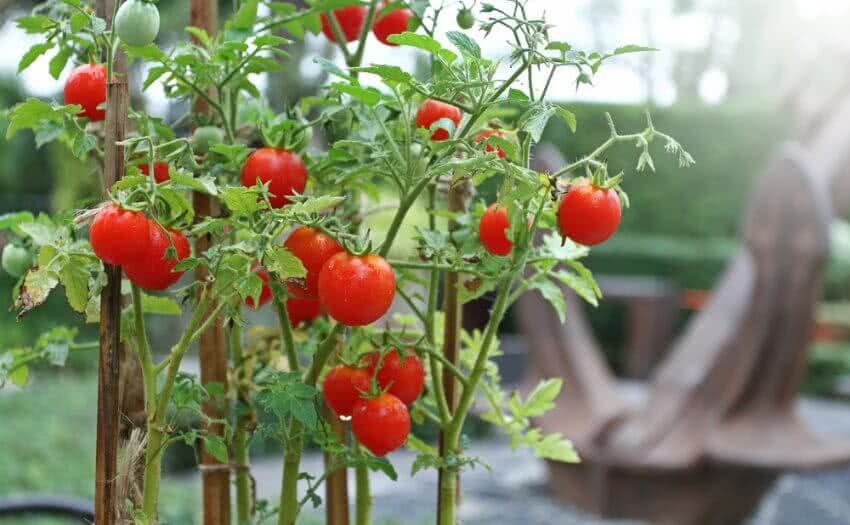
- Adult plants can be tied to the support with a loop, without tightening. As a support, you can take a stick 20 cm long.
- You need to collect the fruits as they ripen, picking one at a time, and not with brushes.
Planting cherry at home
Sowing seeds for cherry seedlings at home is not much different from growing seedlings for planting in the ground. For a reliable result, it is imperative to prepare the soil, seeds and suitable containers for growing.
Preparing the soil for planting cherry
We recommend preparing the soil yourself – you will never guess what the store soil was stuffed with. It is better to take ordinary garden soil from the place where nightshade never grew, mix it with humus soil and river sand in equal proportions and add wood ash (about 100g per 1kg) of heavily crushed eggshell (10-15g per 1kg ).
Cherry seedling boxes at home
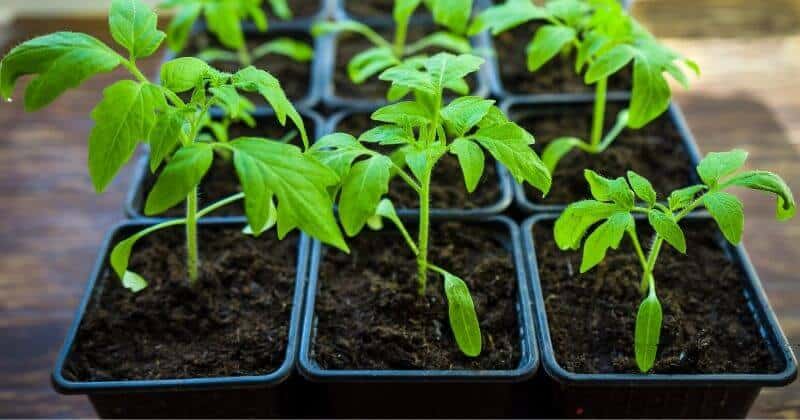
It is convenient to grow tomato seedlings in ordinary wooden fruit boxes. They have a side height of about 7 cm – exactly what you need. At the bottom, so that the soil does not spill out and water does not flow out, you can lay a thick plastic film, pour the prepared soil on top with a layer of about 5 cm and slightly compact it.
Seed preparation before planting
When the soil is ready, you can start preparing the seeds. Take them out of the bag and carefully inspect: those that seem frail should be put aside. Take the largest, well developed ones.
We advise you to decontaminate seeds before sowing, even if you collected them yourself. To do this, dissolve potassium permanganate in water (1/2 tsp per 1 liter), place the seeds in a gauze bag, and dip it into the solution for about a quarter of an hour. Then take it out and rinse with running water.
When the seeds are disinfected, they need to be prepared for sowing. To do this, I take a piece of cloth, moisten it very well in Epin (1 g per 1 liter of water) and put the cloth on a plate. Spread the seeds evenly on it and cover with a plastic bag. For the seeds to germinate faster, we advise you to place a plate with them in the warmest part of the room for a day, then for a couple of hours in the refrigerator, and then again for a day in heat. Seeds will hatch in 5 days, and they can be sown for seedlings.
Buy tomato seeds here: www.edenbrothers.com/store/tomato_seeds
Sowing cherry seeds at home
We recommend sowing seeds in grooves, which are best done along the box. The depth of the grooves is about 0.5 cm. We put the seeds in them at a distance of 1.5 cm and sprinkle them with the same soil with a layer of 1 cm.
For the seedlings to be friendly and appear as soon as possible, we advise you to put the seed box in the warmest place in the room. As soon as the first sprouts appear, the film must be removed and the box moved to the windowsill.
Cherry seedling care at home
Care is very important when growing tomatoes at home. After all, plants do not have enough light, and the air in the apartment is too dry and hot. Therefore, cherry tomatoes on the windowsill in winter need to provide additional lighting, timely watering and organic top dressing.
Illumination of cherry seedlings
After the emergence of seedlings, seedlings need additional lighting for full and uniform development. You can use both expensive phyto lamps and cheaper fluorescent ones for these purposes. If the weather is cloudy, then you can turn on the usual daylight.
Checking if additional lighting is needed is very simple. Turn on the light – if you see a difference, then you need additional lighting. Once a day, turn the boxes on the other side to the light, so the seedlings will develop evenly.
Watering and fertilizing cherry seedlings
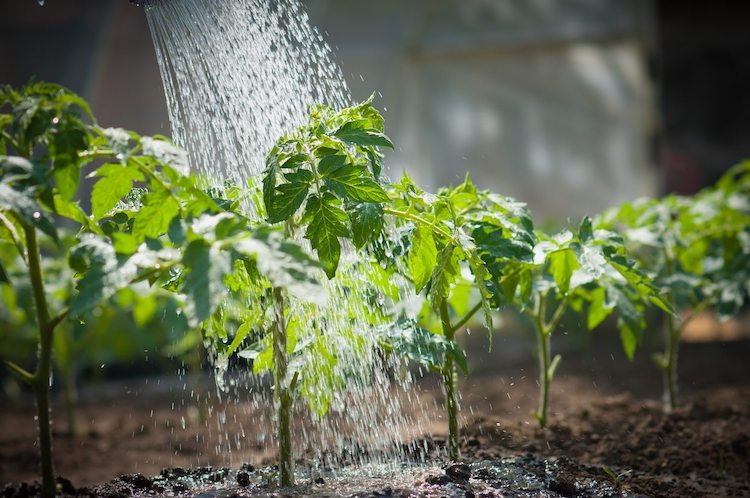
As for watering, we recommend moistening the soil only as it dries. You can’t overflow. We recommend using melted snow water, heated to room temperature.
About a week after germination, seedlings can begin to be fed.
It is best to use natural top dressing for fertilizing tomatoes – chicken manure or manure. The box takes about half a liter of solution. This solution can be fertilized every 12-13 days.
Seedling picking
As soon as the seedlings form 3-4 leaves, we advise you to dive into a separate cup, trying not to disturb the clod of earth. After transplanting, water the plants, and after a week, feed with the same fertilizer.
As soon as the plants stretch to 12-15 cm, they can be transplanted into a pot. If you do not want to carry out this additional transplant, then you can plant it in a separate pot immediately, and not in cups.
Planting cherry tomatoes in pots
For cherry tomatoes, dishes with a volume of 4-5 liters with a pot depth of about 15 cm are suitable. The soil can be taken of the same composition as for growing seedlings. When planting, it is not forbidden to deepen the seedlings a little (by about 1 cm), so additional roots are formed. After planting, be sure to moisten the soil, and carry out the second watering after a week, allowing the roots to develop.
Buy tomato seeds here: www.edenbrothers.com/store/tomato_seeds


